Documents: Header Creation
ขั้นตอนการสร้างหัวกระดาษ

❷ Select Document Console
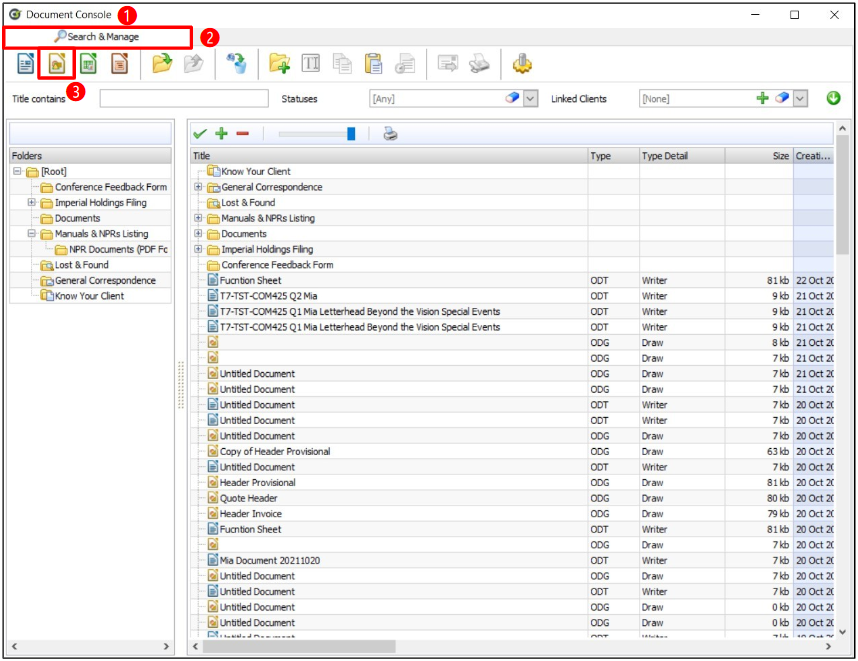
❷ Search & Manage tab
❸ Select the Create New Draw Document icon
Note: If you already have a document template that you've used before, it's recommended to copy the template from the existing one. This will be quicker and you won't need to set up the paper format again. To do this, right-click on the existing template and select New document using this document as template
หมายเหตุ: หากมีหัวกระดาษที่เคยใช้งานอยู่แล้วแนะนำว่าให้ใช้วิธีการคัดลอก template จากของเดิมที่มีอยู่แล้วจะรวดเร็วกว่า และไม่ต้องมาตั้งค่ารูปแบบกระดาษใหม่ โดยคลิกขวา template เดิมและเลือก New document using this document as template
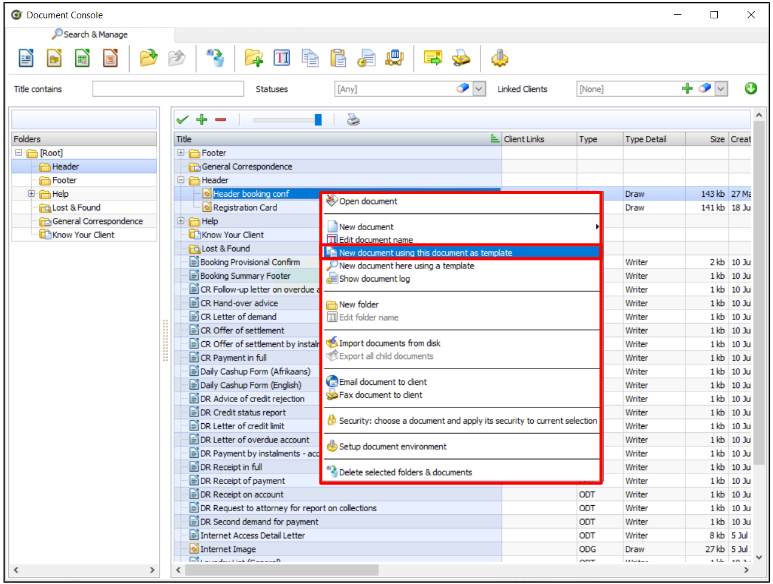
❶ Document Console window
หน้าต่าง Document Console
❷ Untitled Document tab
แถบ Untitled Document
❸ Statuses: use the Drop Down to access the list of options to select the Header
Statuses: คลิกเพื่อเลือกตัวเลือกเลื่อนลง โดยเลือกติ๊ก Header เพื่อให้เอกสารนี้เป็นหัวกระดาษ
Note: it is important to check the Status box, otherwise the document will not be available as a Header.หมายเหตุ: สิ่งสำคัญคือต้องจำไว้ว่าต้องทำเครื่องหมายในช่องสถานะ (Status) มิฉะนั้นเอกสารจะไม่สามารถใช้งานเป็นหัวกระดาษ (Header) หรือท้ายกระดาษ (Footer)ได้
Note: it is recommended that you import an image saved in a .jpeg or .png format.หมายเหตุ: รูปภาพสามารถเป็นไฟล์ที่บันทึกในรูปแบบ .jpeg, .png, หรือรูปแบบภาพอื่น ๆ ที่สามารถอ่านได้ โดยปกติแล้วรูปภาพนั้นมักจะเป็นโลโก้หรือสัญลักษณ์ของบริษัท
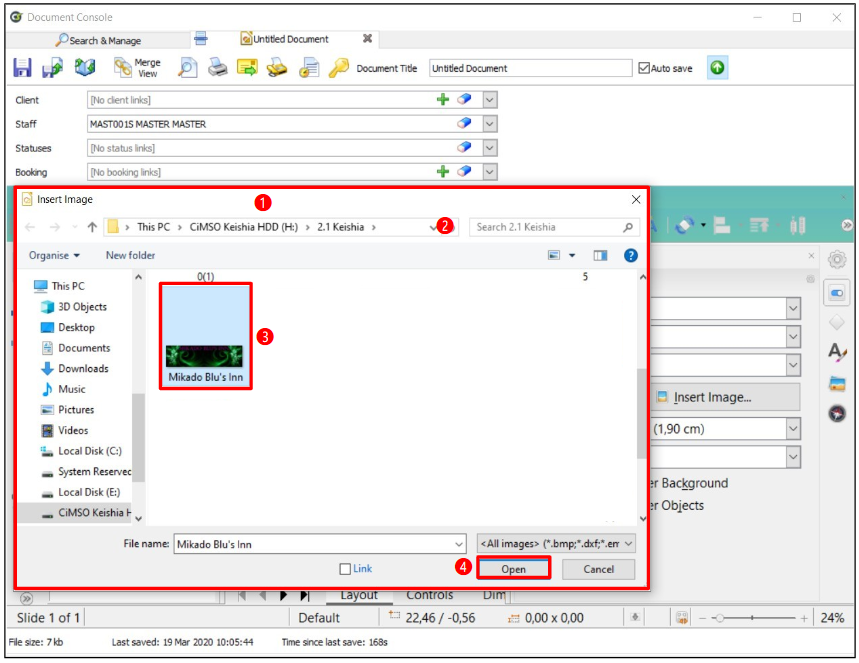
❶ Insert Image window
หน้าต่าง Insert Image
❷ Location File
ที่อยู่ไฟล์
➌ Locate & Select: select to Highlight the required image
เลือกรูปภาพ
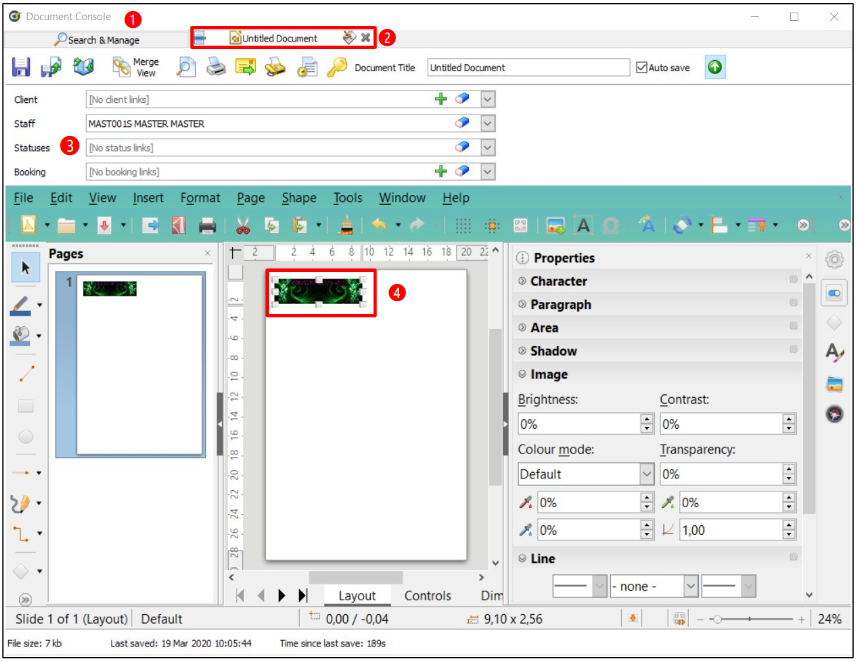
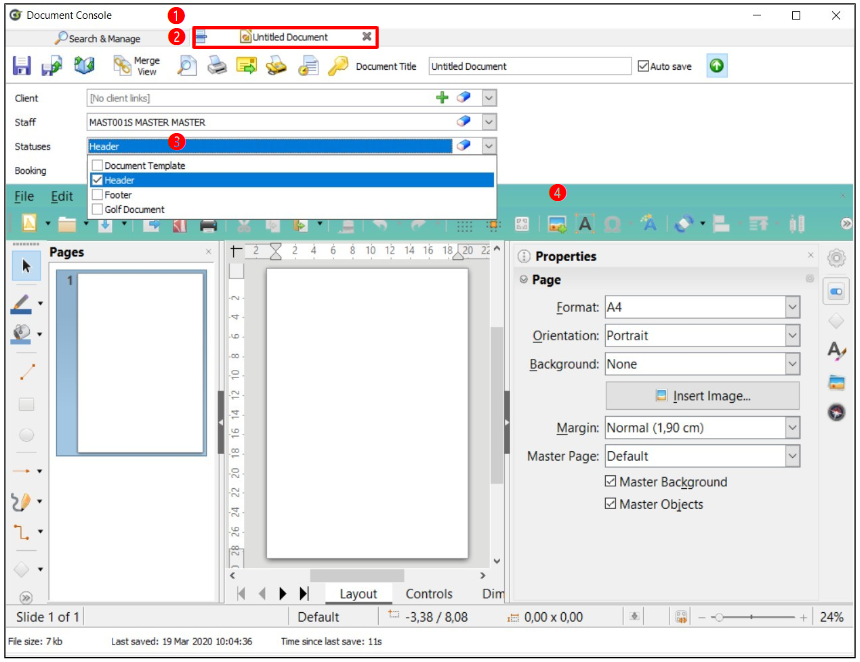
❶ Document Console window
หน้าต่าง Document Console
❷ Untitled Document tab
แถบ Untitled Document
Statuses: เลือกตัวเลือก Header
หมายเหตุ : รูปภาพสามารถปรับขนาดได้
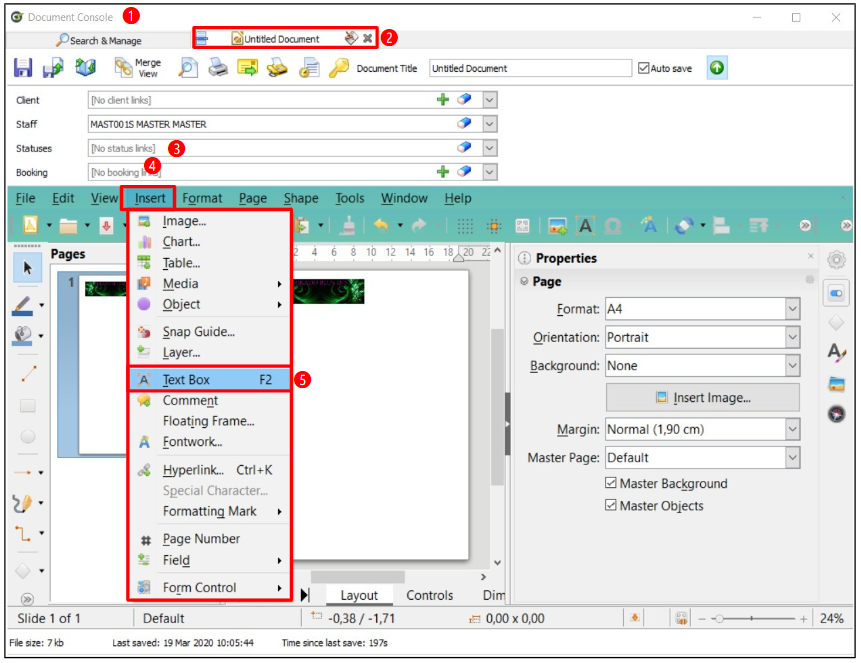
หน้าต่าง Document Console
❷ Untitled Document tab
แถบ Untitled Document
➌ Statuses: Header option
Statuses: เลือกตัวเลือก Header
➍ Select the Insert button to access the list of options
❺ Locate & Select: select the Text Box option
เลือกคลิก Text Box
❶ Document Console window
หน้าต่าง Document Console
❷ Untitled Document tab
แถบ Untitled Document

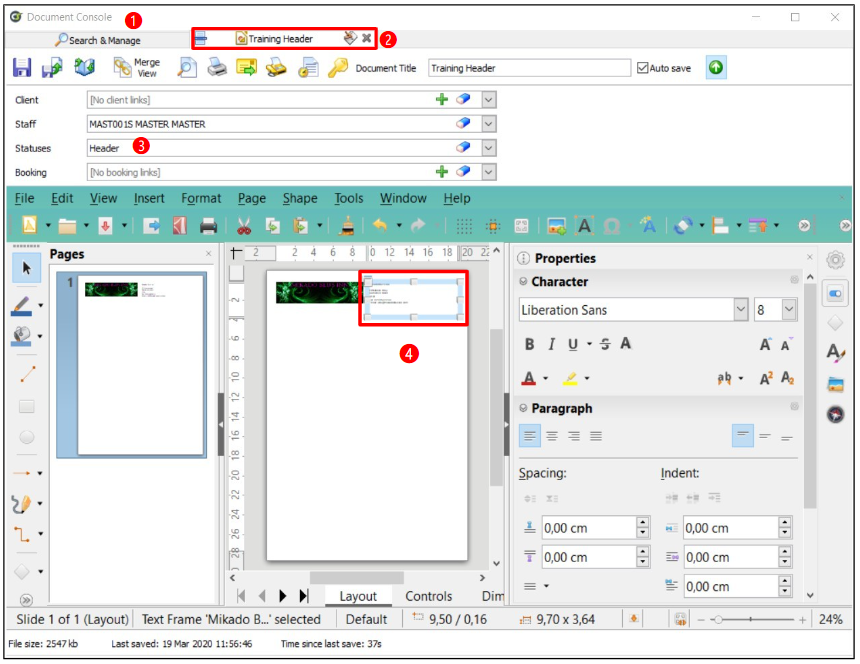
❶ Document Console window
หน้าต่าง Document Console
❷ Untitled Document tab
แถบ Untitled Document
➌ Statuses: Header option
Statuses: เลือกตัวเลือก Header
➍ Select the Text Box (for adjustments)
กล่องข้อความ หลังการแก้ไข
❺ Character Font: use the Drop Down to access the list of options
Character Font: ใช้ตัวเลือกเลื่อนลงเพื่อดูรายการเพิ่มเติมสำหรับฟอนท์ตัวอักษร
❻ Character Size: use the Drop Down to access the list of options
Character Size: ใช้ตัวเลือกเลื่อนลงเพื่อดูรายการเพิ่มเติมสำหรับขนาดตัวอักษร
❼ Paragraph: select the choice of Alignment (Left, Centre, Right, Justified)
Paragraph: เลือกตัวเลือกสำหรับการจัดระเบียบตัวอักษร (ซ้าย,กลาง,ขวา,จัดชิดขอบ)
หน้าต่าง Document Console
❷ Untitled Document tab
แถบ Untitled Document
➌ Statuses: Header option
Statuses: เลือกตัวเลือก Header
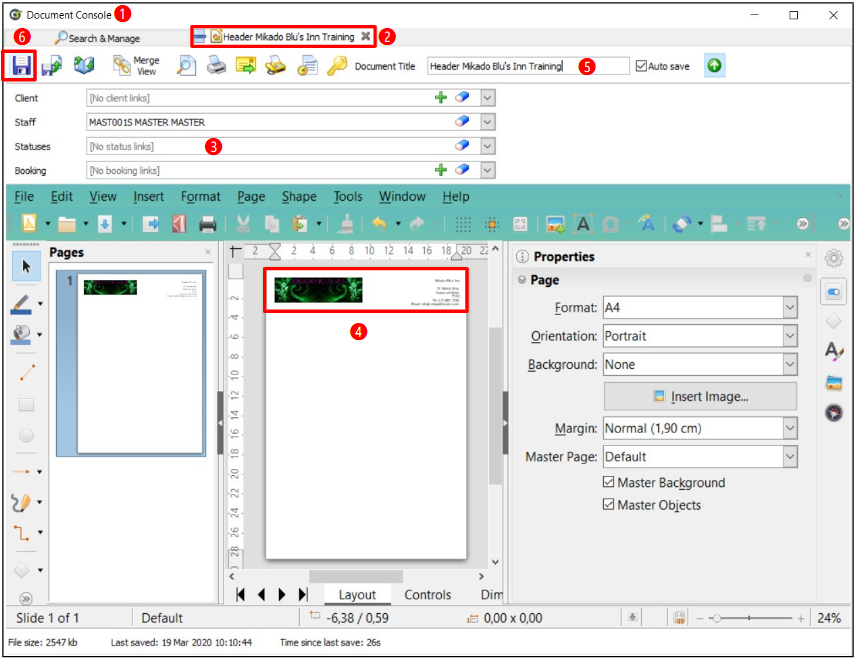
➍ The Completed Header
หัวกระดาษที่ได้สร้างขึ้น
❺ Document Title: type in the Title Description
Document Title: ใส่ชื่อหัวกระดาษ
❻ Select the Save (disk button)
คลิกที่ไอคอนดิสก์เพื่อบันทึก
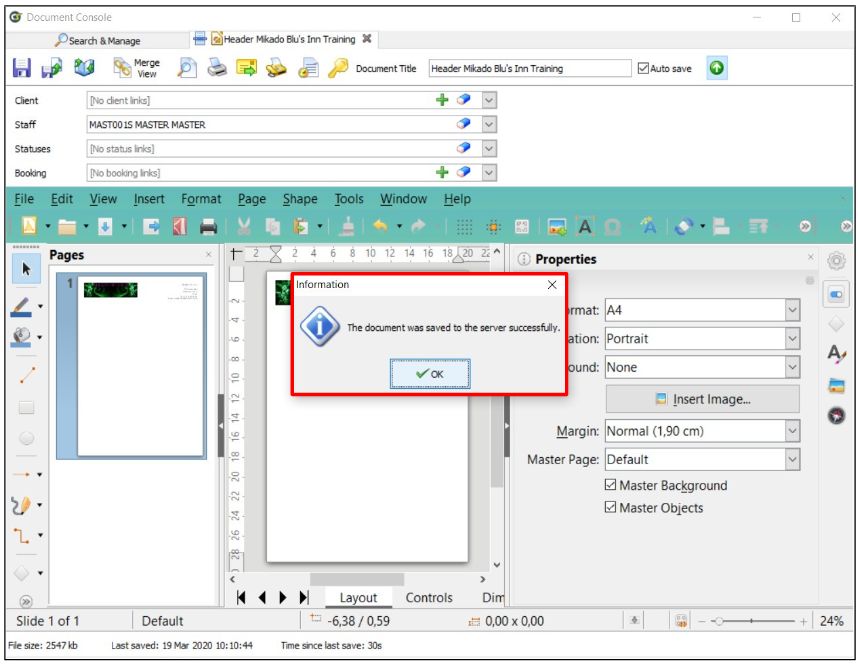
หน้าต่างข้อมูลยืนยันว่าเอกสารถูกบันทึก
ลงในเซิร์ฟเวอร์เรียบร้อยแล้ว
Example: Usage of Header
ตัวอย่างการใช้งานหัวกระดาษ
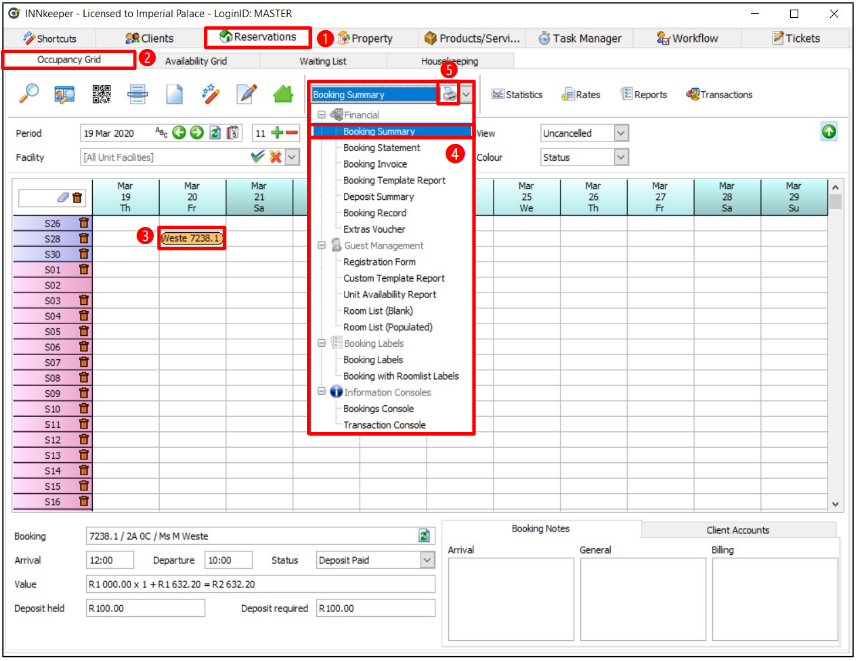
❶ Reservations tab
แถบ Reservations
❷ Occupancy Grid tab
แถบ Occupancy Grid
➌ Locate & Select: select to highlight a booking
Locate & Select: คลิกไปที่บุ้คกิ้งที่ต้องการ
➍ Document Field: use the Drop Down to access the list of options to select the Booking Summary
Document Field: เลือกตัวเลือกเลื่อนลงโดยไฮไลท์สีน้ำเงินตัวเลือกที่ต้องการ เช่น เลือกBooking Summary
❺ Select the Print (printer button)
คลิกที่ไอคอนเครื่องพิมพ์

❶ Booking Summary Select window
หน้าต่าง Booking Summary Select
❷ Locate & Select: check the box to the relevant booking
เลือกติ๊กหน้าบุ้คกิ้งที่ต้องการ
➌ Select the Accept button
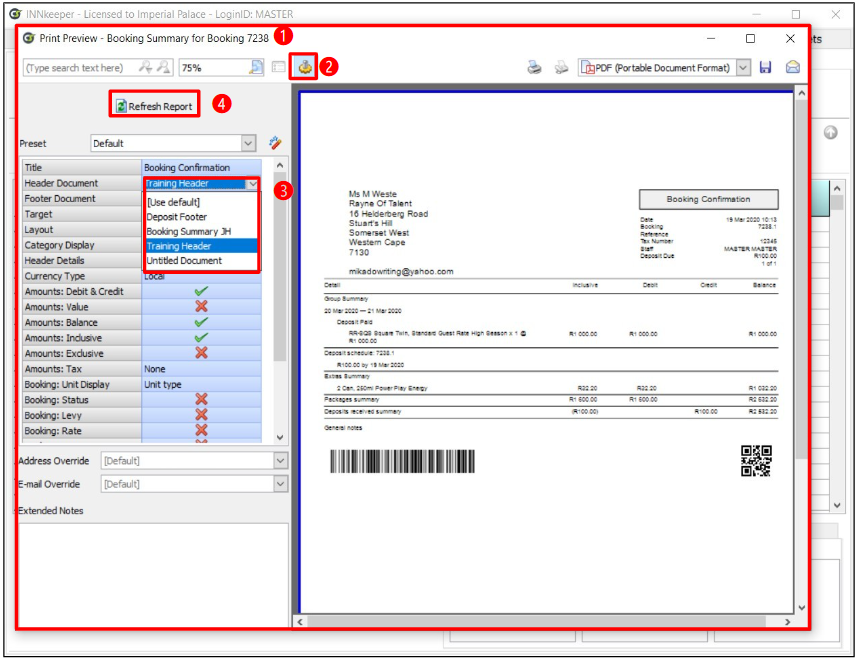
❶ Print Preview – Booking Summary For Booking… tab
หน้าต่าง Print Preview – Booking Summary for Booking…
❷ Select the Show/Hide Report Configuration (gears button)
คลิกไอคอนฟันเฟือง เพื่อเข้าถึงการตั้งค่า
Header Document: เลือกตัวเลือกเพิ่มเติมในตัวเลือกเลื่อนลง โดยเลือกหัวกระดาษที่ต้องการ
➍ Select the Refresh Report button
คลิกปุ่ม Refresh Report
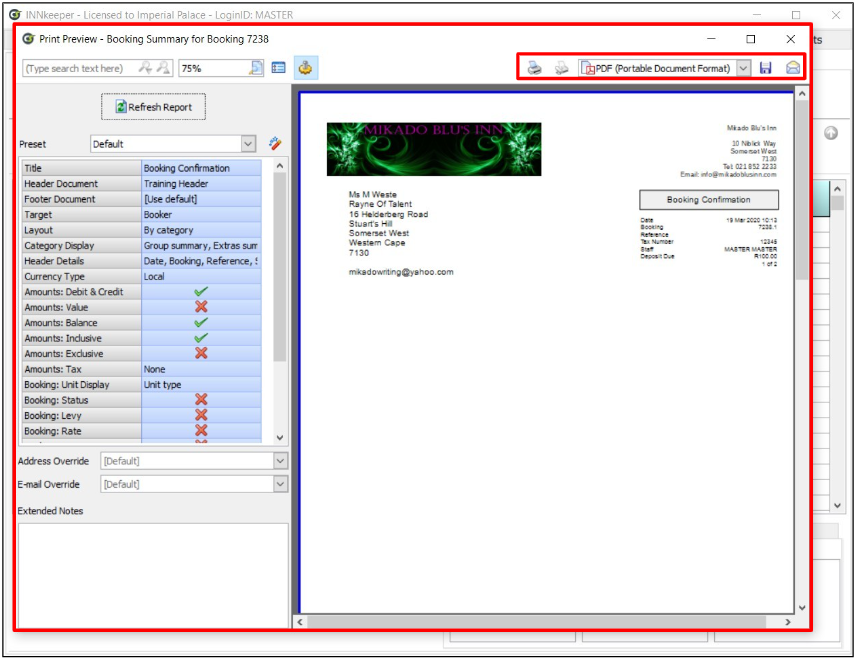
หมายเหตุ: ขณะนี้จะสามารถมองเห็นหัวกระดาษได้แล้ว
If you need a consulting system and ERP system for a service business. (Golf software hotel management software
Resort management software Event management software, restaurants, food and beverage and central kitchen
management software, spa software, wholesale retail management Franchise management and other service
businesses)
You can contact CiMSO ERP Software for a short demonstration (free online) at 02-1296312 or


